When it comes to sushi rice, it’s easy to get excited about what you can eat along with it. Whether you’re hosting a gathering or simply want to indulge in a quiet night at home, pairing your Nobu sushi rice with a variety of delicious accompaniments can elevate the experience.
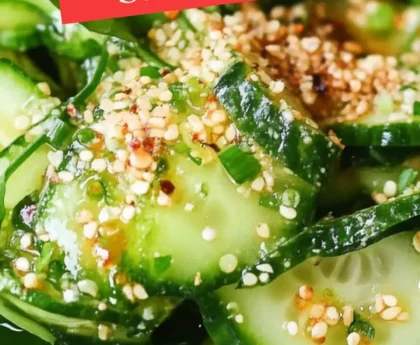
Picture this: a fresh sashimi platter adorned with vibrant slices of tuna and salmon, crunchy vegetable tempura, or even a hearty miso soup. All these dishes harmonize beautifully with sushi rice, enhancing the flavors and textures on your plate.
I remember the first time I tried making sushi at home. The thrill of rolling my own sushi and serving it with a side of homemade dipping sauce was exhilarating.
My friends couldn’t believe I had crafted it all from scratch! It’s fun to experiment with flavors. The rice, slightly sticky yet fluffy, connects the flavors beautifully. And that’s precisely where Nobu sushi rice comes in.

Why make your own Nobu sushi rice?
Let me tell you, there’s a certain magic in crafting it precisely as you like. By creating this sticky delight, you control texture and flavor, which makes sushi experiences even better. You have the heart of sushi, a canvas ready for your culinary strokes.
It encourages creativity, and with summer gatherings just around the corner, it’s never too early to start planning those delightful dishes that will impress friends and family.
Making sushi rice might seem a bit daunting at first, but I assure you, the process is straightforward. The tenderness of the rice paired with the right acidity celebrates all the elements of sushi.
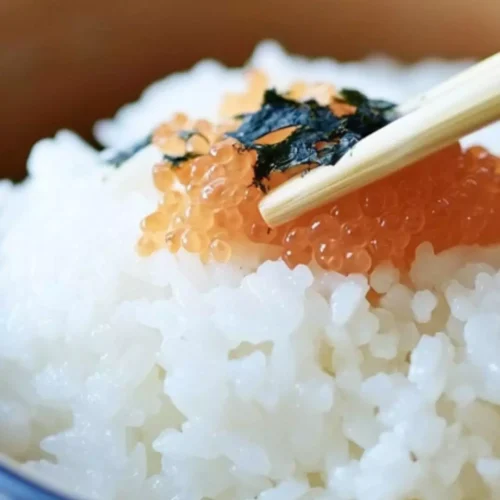
And it’s so much more than rice; it’s the foundation of a culinary delight where each bite sings with flavor.
I have personally experimented with various ratios and ingredients in this recipe to get it just right. Each component plays a vital role in making it the treat you’ll want to share. So let’s get to it!
Ingredients for Nobu Sushi Rice
Here’s what you’ll need:
For the Sushi Vinegar:
- 1 cup of unseasoned rice wine vinegar
- 1/2 cup of white sugar
- 1/4 cup of sea salt
- 1 two-inch strip of dried kombu (seaweed)
- 1 tablespoon of mirin
For the Rice:
- 3 cups of short-grain Japonica rice

How to Make Nobu Sushi Rice
Step 1: Rinsing the Rice
Begin with rinsing your rice. Place the Japonica rice in a large bowl and cover it with cold water. Swirl it gently and drain the water. Repeat this process at least four or five times until the water runs mostly clear.
This step is crucial as it removes excess starch, which can make the rice gummy. I learned this little trick after some early, sticky disasters in the kitchen!
Step 2: Soaking the Rice
Once your rice is rinsed, it’s time to soak it. In a rice cooker or pot, add the rinsed rice along with 3 3/4 cups of water. If you’ve never used a rice cooker, trust me, it’s a game-changer. Let the rice soak for about 30 minutes.
This soaking time is essential. It allows the grains to absorb moisture evenly, resulting in a perfect fluffy texture similar to what you’d expect from a top-notch sushi restaurant like Nobu.
Step 3: Cooking the Rice
Cook the rice according to your rice cooker settings or on the stovetop. If using a pot, cover it, bring it to a boil, then reduce to a simmer for about 18-20 minutes until all the water is absorbed.
It’s tempting to peek, but resist! Keep the lid on to trap steam, which ensures all grains cook uniformly.
Step 4: Preparing the Sushi Vinegar
While the rice cooks, let’s whip up the sushi vinegar. In a small saucepan, combine the rice wine vinegar, sugar, salt, mirin, and the strip of kombu. Heat it over low heat until the sugar dissolves completely. This will take just a few minutes.
Don’t boil it! We want a harmonious blend here. Once ready, remove from heat and let it cool slightly before discarding the kombu.
Step 5: Mixing Rice and Vinegar
When the rice is finished cooking, transfer it into a large wooden or glass bowl. This prevents the rice from continuing to cook after you remove it from heat. While it’s still warm, gently fold in the sushi vinegar with a wooden spatula.
You want to do this gently—think of folding in a cloud rather than stirring it like a stew. This step infuses the rice with flavor and creates that perfect balance of sweet and tangy.
Step 6: Cooling the Rice
To cool the rice, use a flat, wide fan or a piece of cardboard. This is optional but adds a nice touch! Fan the rice gently while you continue to fold it. We aim for a slightly sticky but separated texture in each grain. This traditional method not only cools but also adds a shine to the rice.
Recipe Notes
- Unseasoned Rice Wine Vinegar: This vinegar is essential. Its clean taste provides the right acidity without overwhelming the rice.
- White Sugar: Adds just the right hint of sweetness to balance the salty notes from the sea salt.
- Sea Salt: Essential for seasoning. It enhances flavor but should be added carefully to prevent overpowering the dish.
- Dried Kombu: It may seem optional, but this seaweed adds an umami depth to the flavor profile. A secret ingredient if you will!
- Mirin: This sweet rice wine adds depth and a touch of sweetness that defines sushi rice, linking together all flavors beautifully.
Recipe Variations
Once you’ve mastered the making of Nobu sushi rice, you might want to explore some variations:
- Spicy Version: Mix in some Sriracha or wasabi to the sushi vinegar for a spicy kick. This can add a delightful twist to your sushi rolls.
- Seasoning Variants: Experiment using different acids like apple cider vinegar or rice vinegar infused with herbs.
- Black Rice Sushi: Feel adventurous? Try black rice for a striking visual and nutty flavor. Just adjust the cooking times as needed.
- Vegan Account: Substitute sugar with a vegan option. Coconut sugar or agave offers a unique taste while keeping it plant-based.
- Herb-Infused: Consider infusing herbs such as cilantro or green onion into the rice while cooking for an aromatic element.
- Fruit Fusion: Add diced mango or cucumber into your sushi rolls for a burst of freshness and sweetness.

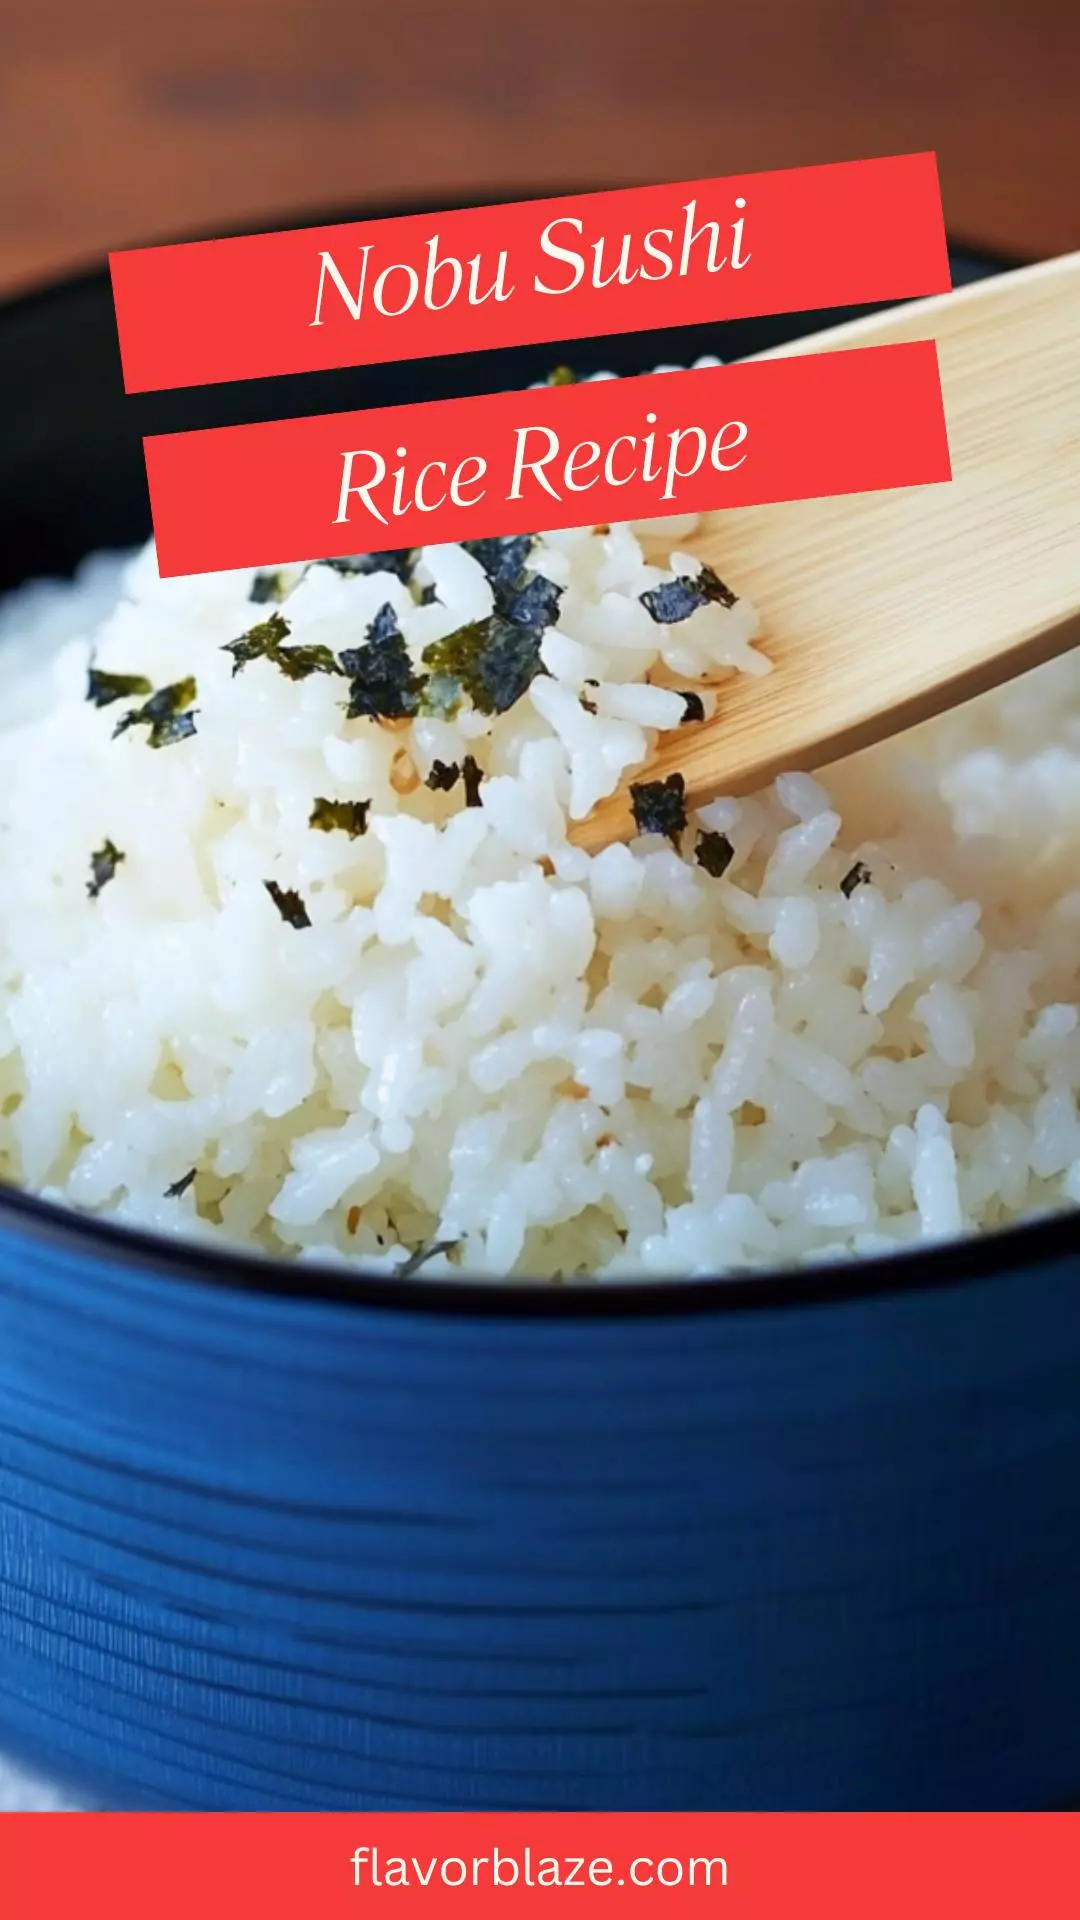
Nobu Sushi Rice Recipe
Equipment
- Large bowl
- Rice cooker
Ingredients
- 1 cup of unseasoned rice wine vinegar
- 1/2 cup of white sugar
- 1/4 cup of sea salt
- A 2-inch strip of dried kombu seaweed
- 1 tablespoon of mirin
- For the rice:
- 3 cups of short-grain Japonica rice
Instructions
- Begin with rinsing your rice. Place the Japonica rice in a large bowl and cover it with cold water. Swirl it gently and drain the water. Repeat this process at least four or five times until the water runs mostly clear.
- This step is crucial as it removes excess starch, which can make the rice gummy. I learned this little trick after some early, sticky disasters in the kitchen!
- Once your rice is rinsed, it’s time to soak it. In a rice cooker or pot, add the rinsed rice along with 3 3/4 cups of water. If you’ve never used a rice cooker, trust me, it’s a game-changer. Let the rice soak for about 30 minutes.
- This soaking time is essential. It allows the grains to absorb moisture evenly, resulting in a perfect fluffy texture similar to what you’d expect from a top-notch sushi restaurant like Nobu.
- Cook the rice according to your rice cooker settings or on the stovetop. If using a pot, cover it, bring it to a boil, then reduce to a simmer for about 18-20 minutes until all the water is absorbed.
- It’s tempting to peek, but resist! Keep the lid on to trap steam, which ensures all grains cook uniformly.
- While the rice cooks, let’s whip up the sushi vinegar. In a small saucepan, combine the rice wine vinegar, sugar, salt, mirin, and the strip of kombu. Heat it over low heat until the sugar dissolves completely. This will take just a few minutes.
- Don’t boil it! We want a harmonious blend here. Once ready, remove from heat and let it cool slightly before discarding the kombu.
- When the rice is finished cooking, transfer it into a large wooden or glass bowl. This prevents the rice from continuing to cook after you remove it from heat. While it’s still warm, gently fold in the sushi vinegar with a wooden spatula.
- You want to do this gently—think of folding in a cloud rather than stirring it like a stew. This step infuses the rice with flavor and creates that perfect balance of sweet and tangy.
- To cool the rice, use a flat, wide fan or a piece of cardboard. This is optional but adds a nice touch! Fan the rice gently while you continue to fold it. We aim for a slightly sticky but separated texture in each grain. This traditional method not only cools but also adds a shine to the rice.
Notes
- Unseasoned Rice Wine Vinegar: This vinegar is essential. Its clean taste provides the right acidity without overwhelming the rice.
- White Sugar: Adds just the right hint of sweetness to balance the salty notes from the sea salt.
- Sea Salt: Essential for seasoning. It enhances flavor but should be added carefully to prevent overpowering the dish.
- Dried Kombu: It may seem optional, but this seaweed adds an umami depth to the flavor profile. A secret ingredient if you will!
- Mirin: This sweet rice wine adds depth and a touch of sweetness that defines sushi rice, linking together all flavors beautifully.
Nutrition
Frequently Asked Questions
Conclusion
In the end, making Nobu sushi rice is more than just a recipe; it’s an experience. It’s about exploring the delightful world of sushi in your home kitchen. The texture, the flavors, and even the intoxicating aroma invite culinary creativity.
Now, why not gather some friends or family and take on this sushi-making adventure together? Not only will you impress them with your culinary skills, but you’ll also have a wonderful bonding experience.
Dive into this flavor-packed journey, create mouth-watering sushi rolls, and delight in each bite of the perfectly prepared rice.
This is the ease and fun of creating at home! So roll up those sleeves, and let’s get started on making a batch of sushi rice that dreams are made of. Enjoy!